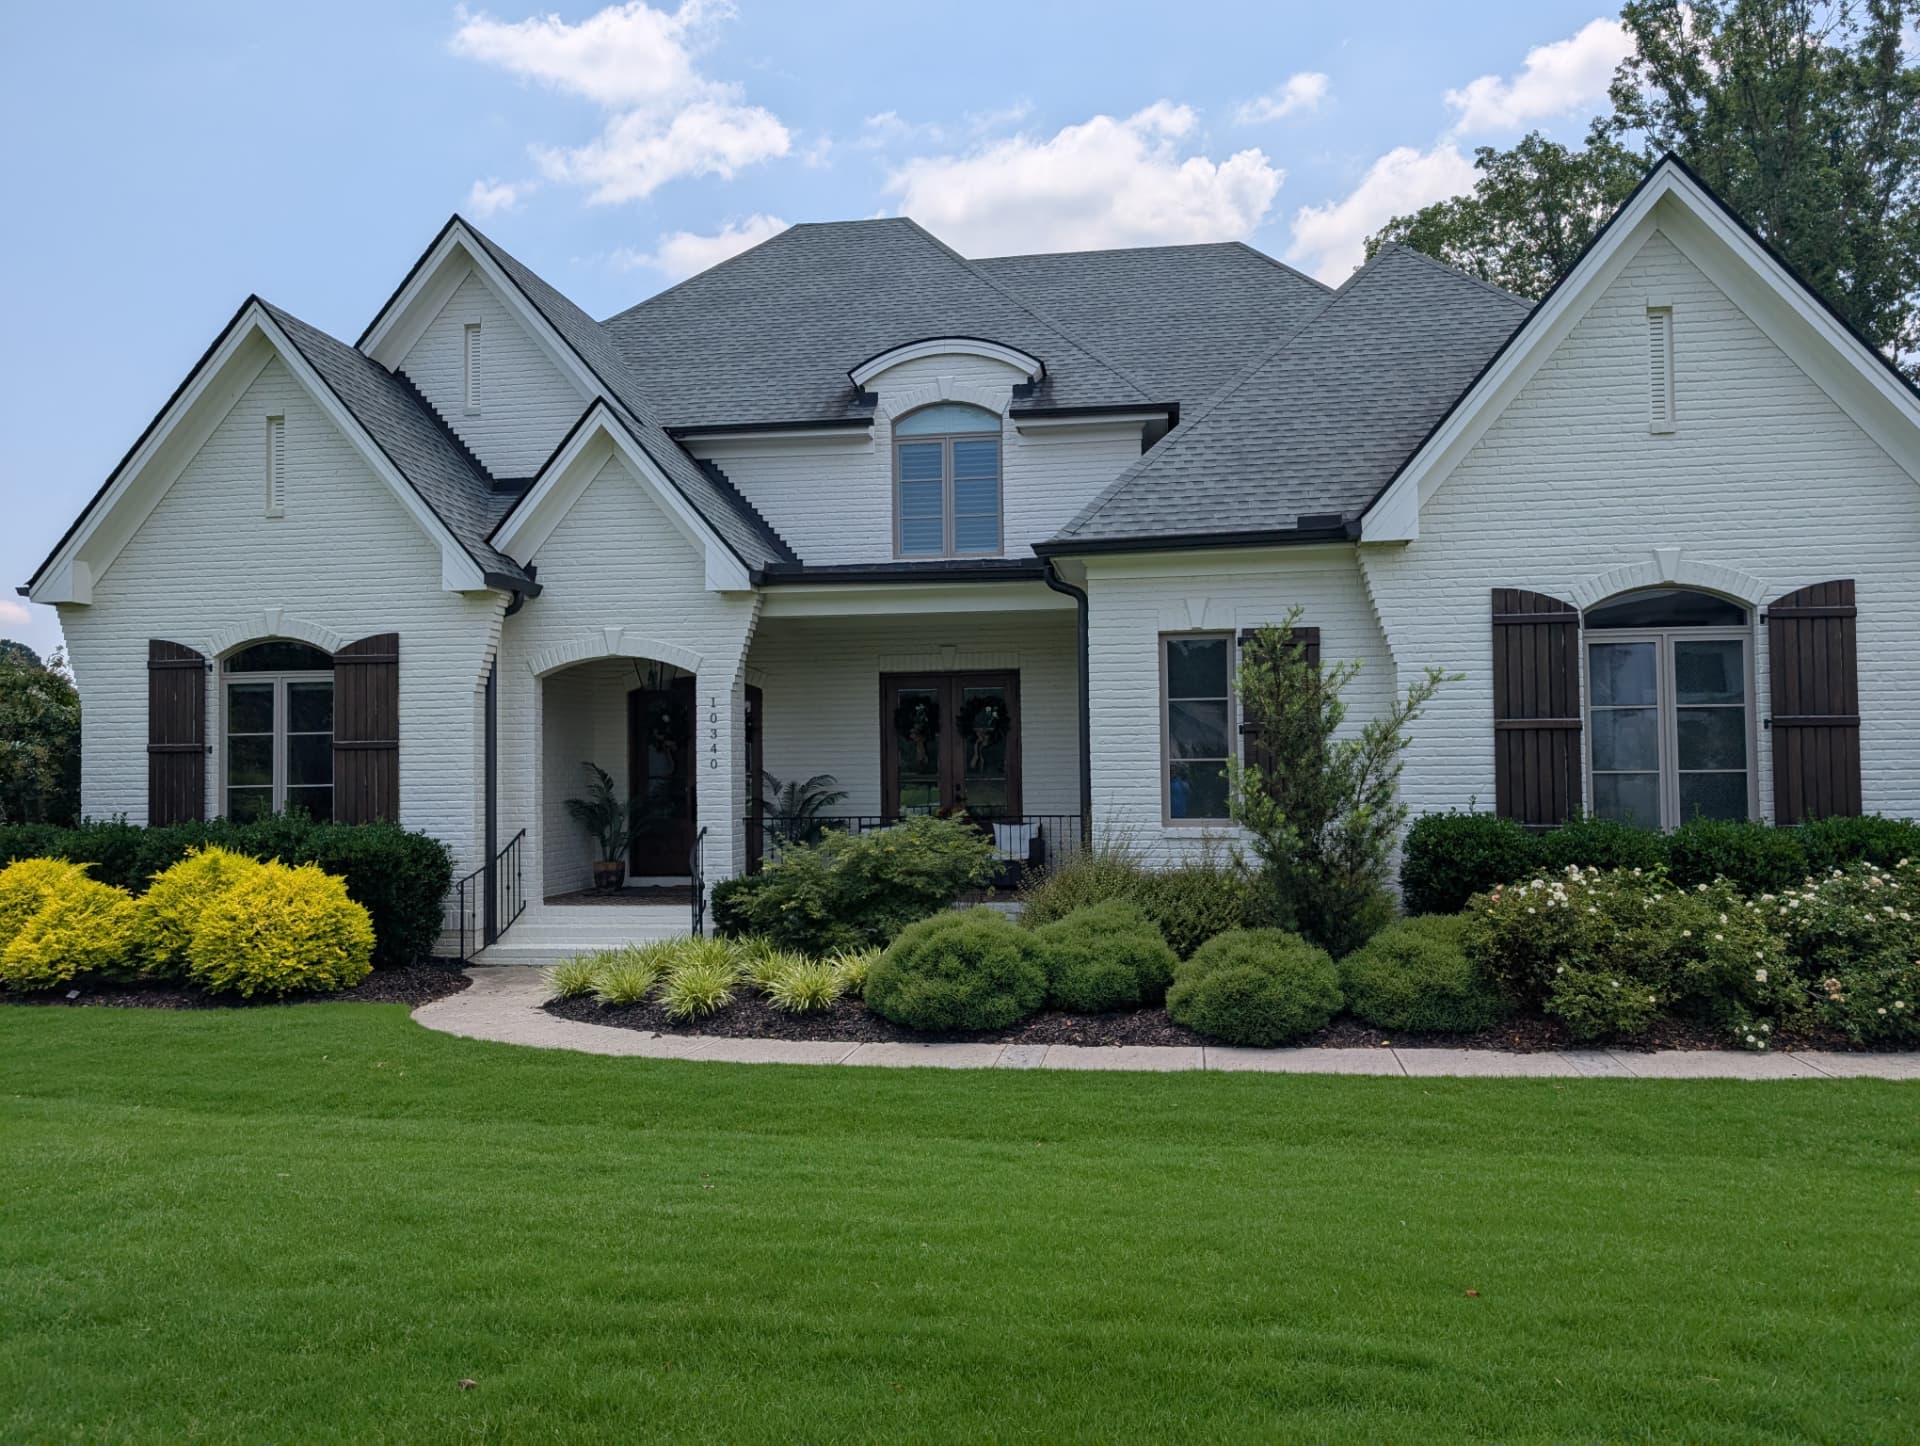
One leak can cross several trades
A roof-to-wall joint involves the roofer's step flashing, the siding installer's clearance, the trim carpenter's casing, and the WRB everyone assumes someone else lapped. Someone needs to verify the complete connection, not just the visible surface. Clay Curtis, the licensed GC on site, coordinates those details.
- Step flashings: one per shingle course, lapped under the WRB — never face-nailed through the siding.
- Kick-out flashings: at every roof edge that dies into a wall; missing or poorly formed kick-outs can direct water behind siding.
- Roof-to-wall transitions: siding held above the roof plane to the applicable James Hardie product and regional installation requirements.
- WRB window integration: shingle-lapped head flashing, sill pan, and flange sequencing.
Check what the siding will cover
Before any cladding goes on, we inspect rafter tails, roof decking, and wall studs. New shingles or siding cannot correct a damaged support underneath. We probe moisture, cut out rot, and replace members before the envelope closes.
Systems we install
- CertainTeed Landmark Pro shingle systems with matched underlayment, starter, and ridge components.
- James Hardie fiber cement lap, panel, and trim — gapped, fastened, and painted to specification.
Careful joints, correct clearances
Our 1/32-inch fine-carpentry approach supports carefully scribed trim and consistent reveals where appropriate. Required expansion gaps, fastening, and flashing follow the product specifications. Sealant belongs where the assembly calls for it—not as a substitute for proper flashing or preparation.